
Creating a New WTG Group
Before configuring turbine model, create a wind farm. If you have a WTG group, you can import the turbine locations directly (refer to Importing Turbine Layout).
- Click the project name in the project pane.
-
Click the Import/Export icon
 in the operation buttons area at left bottom of
project pane to open the Import/Export page.
in the operation buttons area at left bottom of
project pane to open the Import/Export page.
- Select WTG group from the Object Type menu.
- Click the Create radio button.
- Click Create to create a WTG group object in the project.
- Click the WTG group object in the project tree.
-
Click the add turbine icon
 in the operation button pane.
The Add a WTG point window opens.
in the operation button pane.
The Add a WTG point window opens.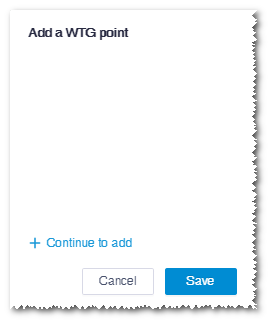
- Click Continue to add and click in GIS. A turbine location is added in the click point and the turbine name is displayed in the window.
- Repeat Step 8 to add more turbine locations.
- (Optional) Drag the newly added turbine location to modify its location.
- (Optional) Click the delete icon at the right side of the turbine name in the Add a WTG point window to delete the corresponding turbine location.
- Click the Save button. The newly added turbine locations are displayed under the WTG group object and they are named as T1, T2, T3... by order.