
Importing Mast Data
Before you deal with mast data, import the data into project in Greenwich.
-
Click the Import/Export icon
 to open the Import/Export page.
-
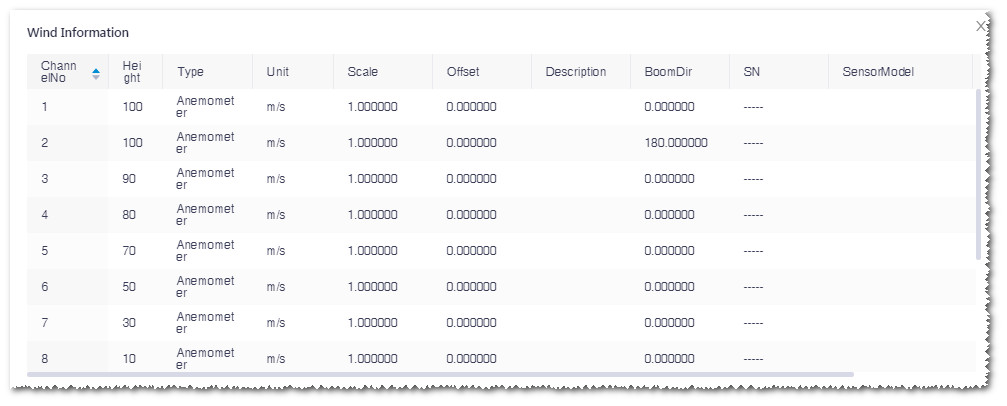
Click a row to see the sensor configuration information after the upload is completed.
Table 1. Sensor Configuration Parameter Introduction Name Description Channel ID This column is only visible on the txt file import page. Normally, the channel ID in the mast data file is loaded into this table automatically. If the format in the file is not standard, the ID might not be recognized. You will need to modify it in the file. Customized name This column is only visible on the txt file import page. Normally, the customized name in the mast data file is loaded into this table automatically. If the format in the file is not standard, the name might not be recognized. You will need to modify it in the file. Sensor type This item is mandatory. Normally, the sensor type marked in the mast data file is loaded into this table automatically. If the format in the file is not standard, the sensor type might not be recognized. You will need to select one manually. Sensor consist of the following types: 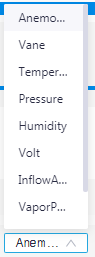
By height This item is mandatory. Normally, the sensor height in the mast data file is loaded into this table automatically. If the format in the file is not standard, the sensor height might not be recognized. You will need to input the value manually. Data type This column is only visible on the txt file import page. Include Avg, SD, Max and Min. Scale It is a variate to calculate the linear relation between wind speed and anemometer rotate frequency. Data are loaded from the file automatically.
Offset It is a parameter to calculate the linear relation between wind speed and anemometer rotate frequency. Data are loaded from the file automatically. Unit Unit of the data collected by mast. For different sensor types, the units are different. -
Click the Check Channel Info button to check the
recommended mast configurations.
-
Click the Auto button to start mast data processing according to the predefined logic. The logical sequence is: auto-data clean, calibration, data repair, extrapolation, and long-term correction.
If you do not want to deal with the mast data in the auto mode, perform the procession step by step.
Figure: Mast Data Processing Procedure 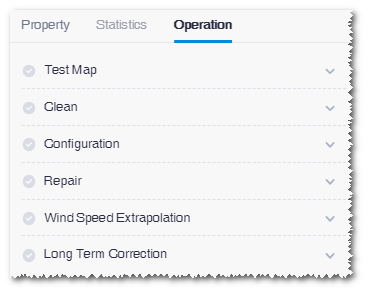
Click the expand icon at each step to show its configuration and set them manually. After you apply the configuration of a step, the √ icon at its left side is lighted. Click the Cancel button to cancel all the application of configuration.